.svg)


7 KitKat Tile Ideas For Kitchen Backsplashes and Dado Walls
ByNandana Priya

Mon , Sep 21 , 2026

Read Time: 5 Min


 Copied!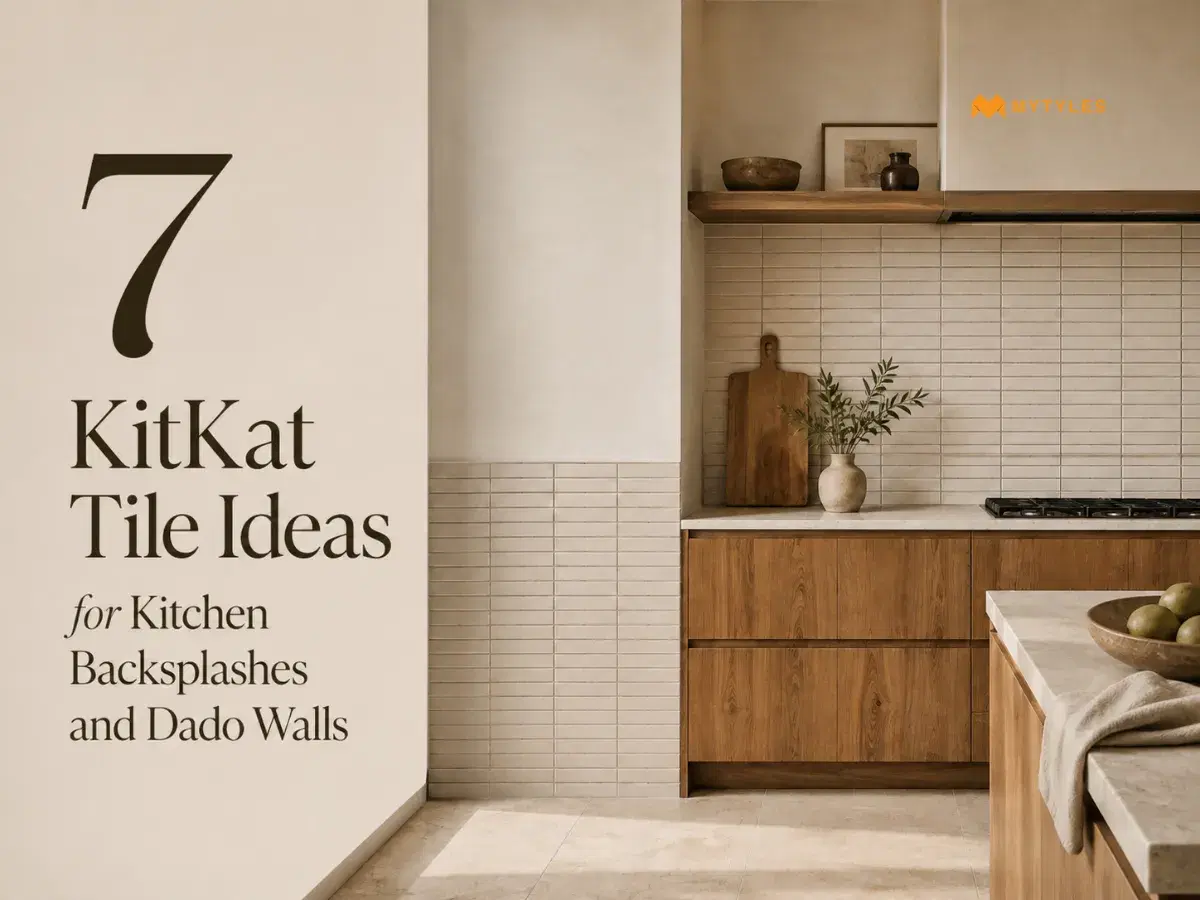
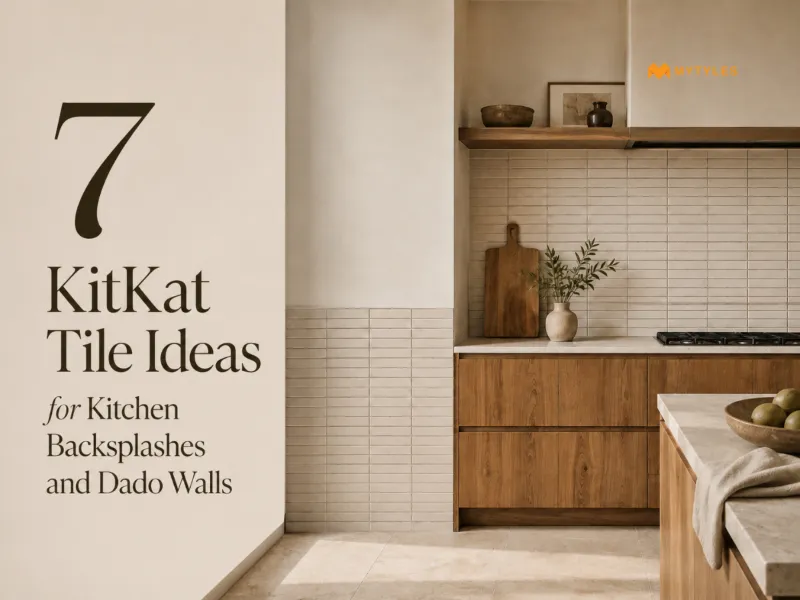
The name KitKat brings up chocolate before anything else. But in tiling, it refers to narrow, rectangular tiles that resemble the individual fingers of the bar, laid out in neat rows across a wall. That similarity is why the style is commonly called a KitKat or finger tile.
In a kitchen, this KitKat tile format finds its place in two spots that get noticed the most. A backsplash is the wall area right above your kitchen countertop, including the portion behind the sink or hob. A dado, on the other hand, is a broader tiled section that runs across the lower or middle part of a wall. The exact boundaries of backsplash and dado wall areas can vary with the kitchen layout.
This blog walks through seven ways to bring KitKat tile ideas for the kitchen into these two zones, from finish and colour to layout and tips to choose the right one.
Why KitKat Tiles Suit Kitchen Backsplashes and Dado Walls
The backsplash and dado wall are both defined zones on a wall. The backsplash sits behind the counter, and the dado wall runs along the lower portion of a room. KitKat tiles for kitchen walls can work here because their shape can mirror that scale, breaking the surface into smaller sections instead of stretching one large slab across it.
The grout lines can also give the surface a repeated visual rhythm. With so many joints running close together, the wall gives a textured, layered look. These narrow rectangular wall tiles can be used behind the hob or sink, as long as the chosen tile is approved for that kind of wall application. They can also be used along the dado wall, helping break up the transition between countertop and upper cabinets.
Glossy KitKat Tiles for a Reflective Backsplash
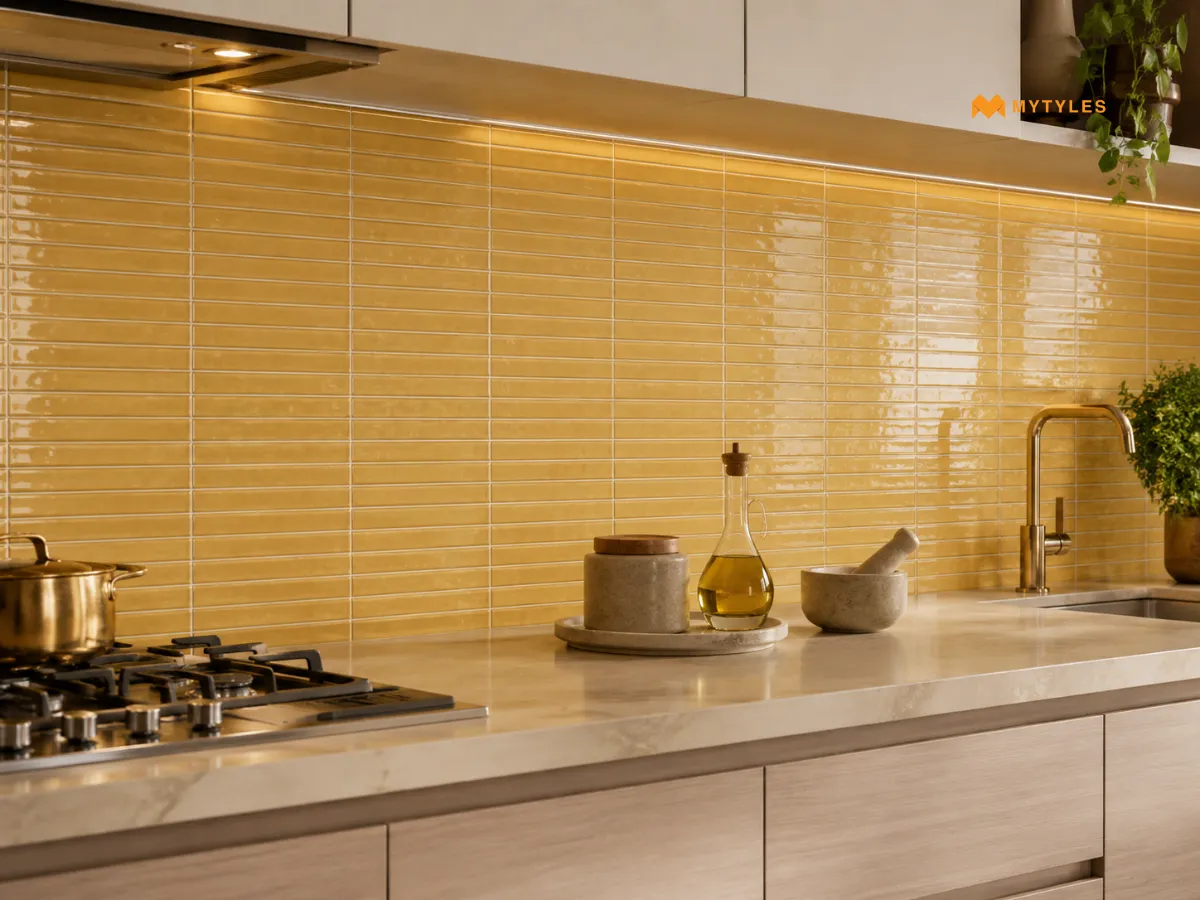
A glossy finish refers to a tile surface with a visible shine, giving it a reflective look. On KitKat tiles for kitchen backsplashes, the sheen sits across each narrow piece. The visual effect varies depending on the tile shade and the specific design chosen.
In a compact kitchen, glossy KitKat tiles can be useful, since a reflective surface may help the space feel a little brighter. Light and mid tones are a good choice here, as they carry light and reflect it more effectively.
A Quick Note: Before choosing a glossy finish, check where the tile can be used, how easy it is to clean, and how the shine looks under your kitchen lighting.
Matt KitKat Tiles for a Muted Dado Wall
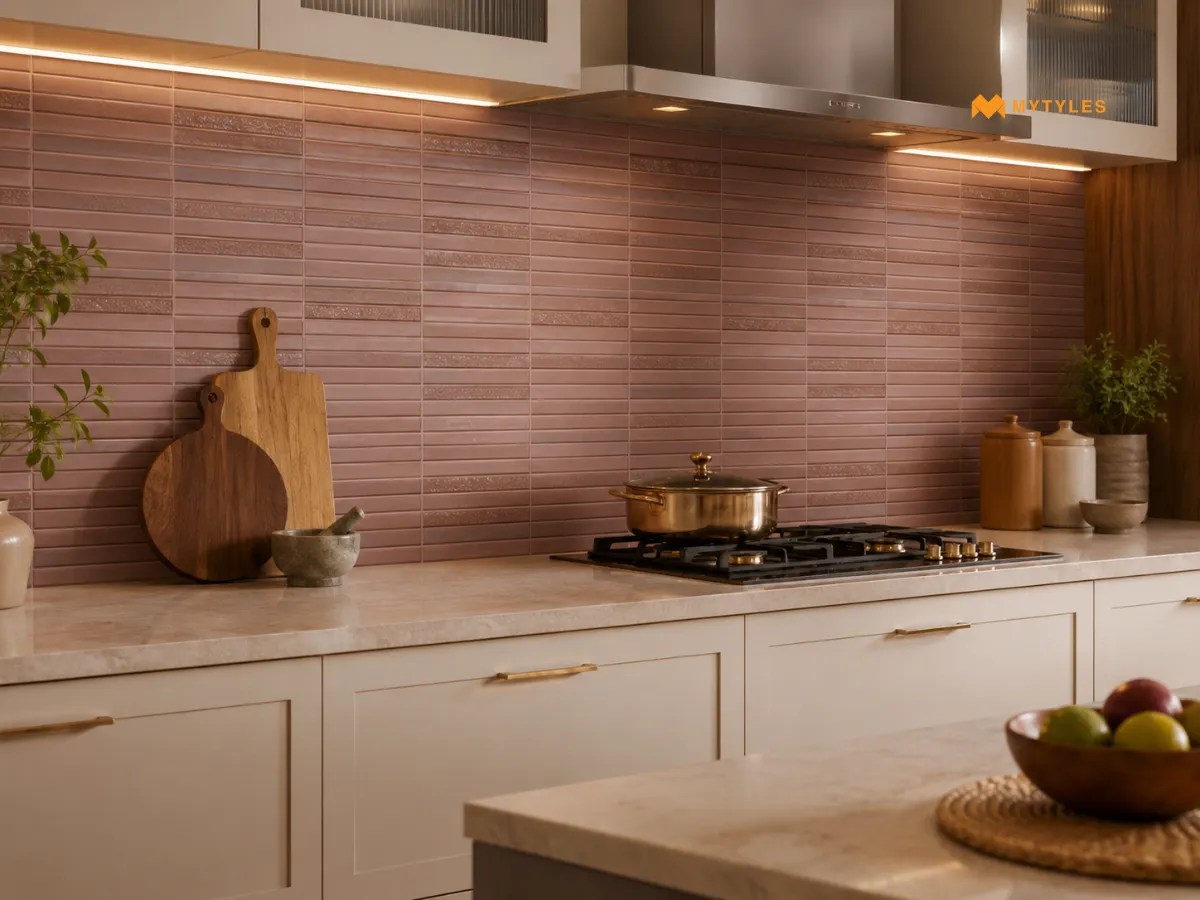
A matt finish has less visible sheen, so reflections usually appear softer and less distinct. This may suit a dado wall that is meant to sit grounded between the cabinets above and below it. A matt KitKat tile can help it look like a transition rather than a standalone feature.
For a kitchen dado, think about how the surface handles grease, splashes, and frequent cleaning. Also, check the tile's recommended wall application and cleaning guidance before making a choice.
Green KitKat Tiles for an Accent Backsplash
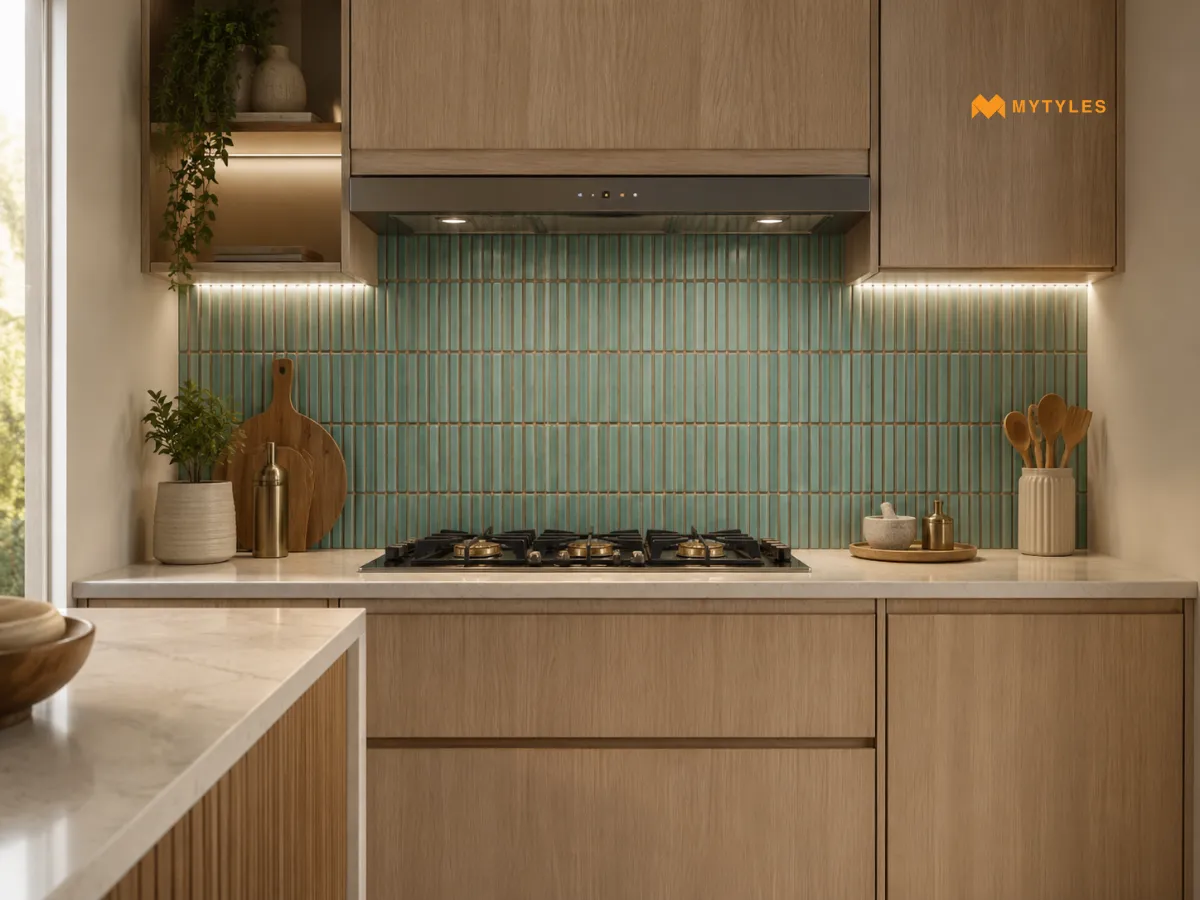
Green adds a distinct colour option to a kitchen backsplash. Depending on the shade, grout, and surrounding cabinetry, it can either sit quietly within the palette or create stronger contrast. A narrow KitKat format helps here too, letting the colour show up in small, repeated strips rather than one large block.
Sage and olive shades tend to sit well against white or wooden cabinetry, while a deeper forest green can work if the rest of the kitchen leans neutral. The colour intensity of green KitKat tiles also shifts depending on the finish, so see a sample under the kitchen's actual lighting before deciding.
Black KitKat Tiles for a Contrasting Dado
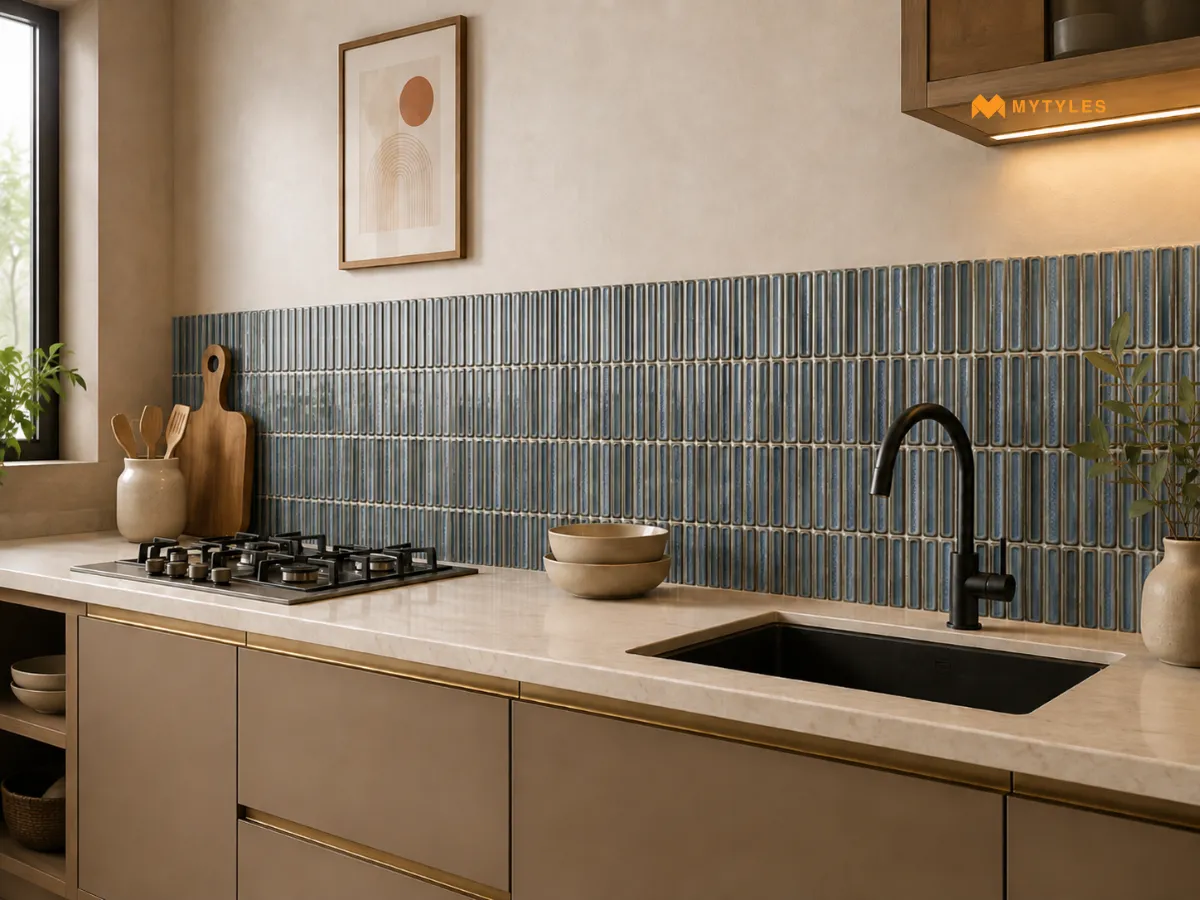
Black is not always the first choice for a kitchen dado, but it can work well in the right setting. Sitting between lighter cabinets above and below, KitKat tiles for a kitchen dado mark out the middle strip clearly, giving the wall a defined structure.
Black KitKat tiles can sit against white or light wood cabinetry without blending into the background. In a smaller kitchen, the amount of black used matters more, especially if the surrounding surfaces are also dark.
Grey KitKat Tiles for a Neutral Kitchen Wall
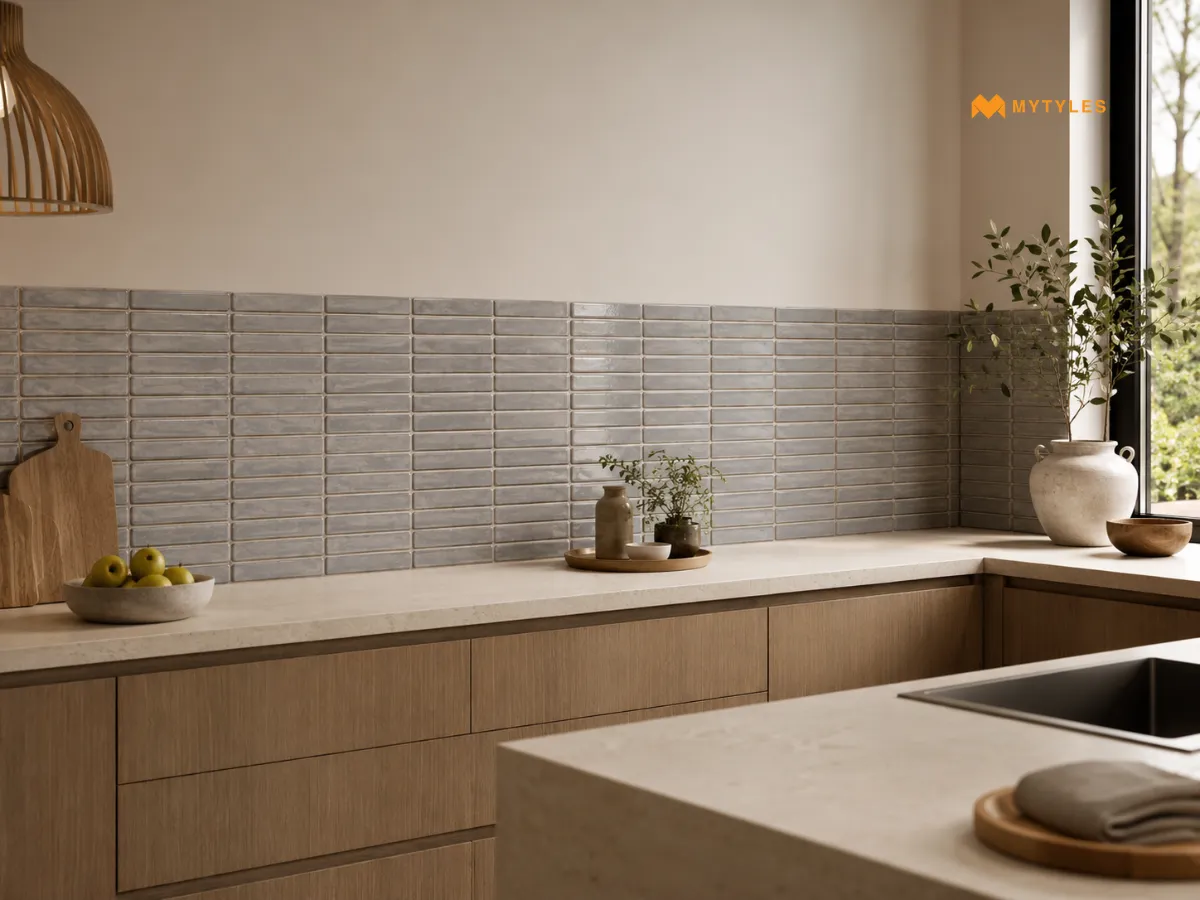
Grey brings a soft, neutral presence to a kitchen wall, the kind of shade that fits in. On a backsplash or dado wall, grey KitKat tiles tend to look like a quieter, more understated choice.
Lighter greys can pair well with warm wood cabinetry, while a deeper charcoal may suit a kitchen that already leans toward darker tones
elsewhere. A patterned kitchen wall tile can be layered in for more visual detail, without moving too far from that neutral base.
Vertical KitKat Tile Layouts for Taller Backsplash Sections
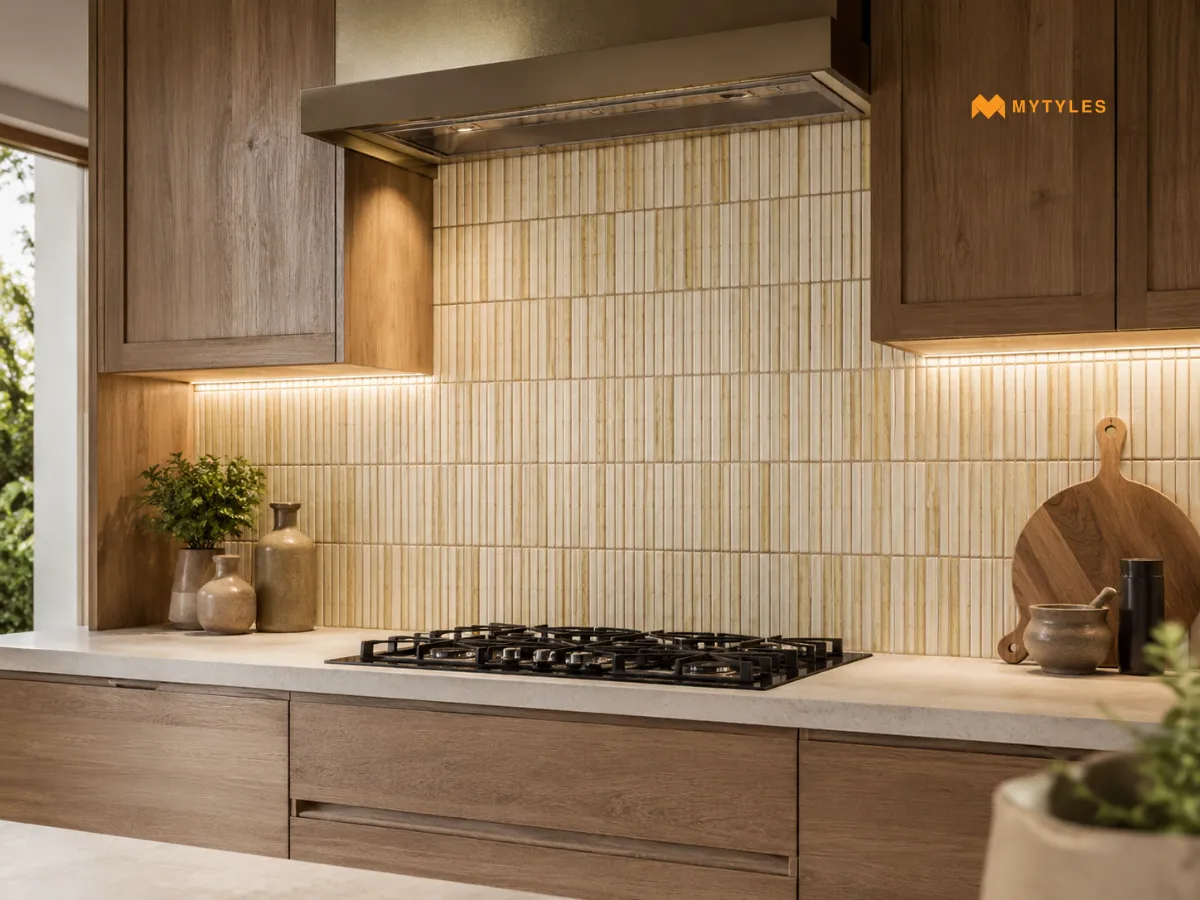
Sometimes it's the orientation, not the tile, that adds the illusion of height. Vertical kitchen backsplash tiles can be used similarly to give a taller look, drawing the eye upward along the wall. KitKat tiles line up in narrow rows, one after another, running from the counter all the way up to the cabinets or shelves.
Before picking the orientation, look at the wall area available, where the cabinets sit, and how the grout lines will look. It's also worth factoring in how the layout meets any open shelving or under-cabinet lighting, since those breaks can interrupt the vertical flow.
Offset KitKat Tile Arrangement for a Dado Feature
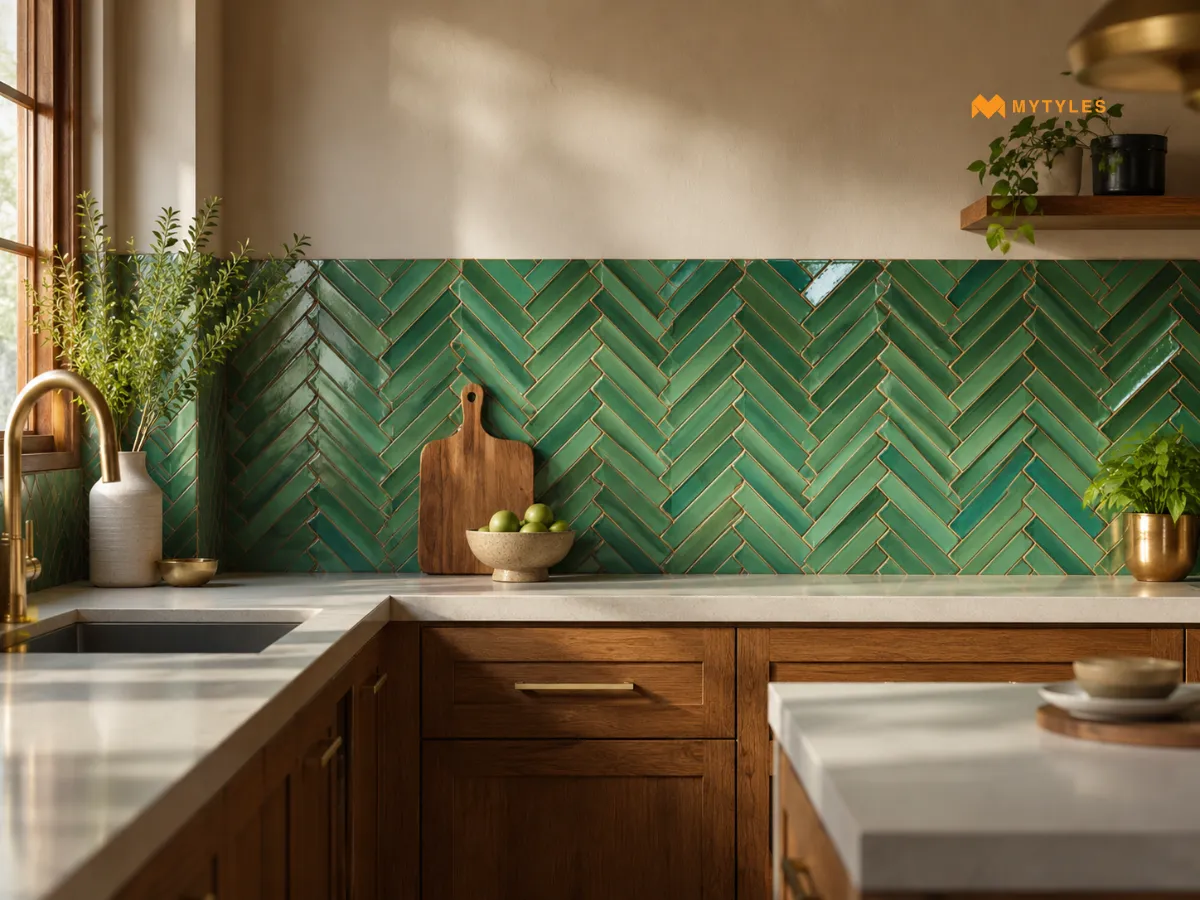
A straight grid is not the only way to lay KitKat tiles for kitchen walls. An offset pattern shifts each row slightly against the one below it, similar to how a brick wall is laid. This breaks the uniformity of a plain grid and gives the dado wall a bit more visual movement.
This offset pattern tends to suit a dado wall well, since the section is already narrow and does not need much space to make the pattern noticeable. A herringbone or chevron arrangement is another option, angling the tiles instead of shifting them, though this generally uses more cut pieces and may need a closer look at wastage before deciding. However, if the tiles come on fixed mesh sheets or already carry a preset KitKat pattern, this kind of arrangement might not be possible.
What to Check Before Choosing KitKat Tiles for Kitchen Walls
A backsplash or dado wall sees daily wear from cooking, wiping, and general use, so a few practical checks upfront can help the final look hold up well once installed. A few points worth going through before finalising a design are:
Grout Colour
Grout colour for KitKat tiles can make a difference in how the tile appears. There are generally two ways to use grout. One is using a matching grout; this keeps the wall looking uniform, and the other is a contrasting grout; it makes individual pieces stand out more clearly. Grout also plays a role in cleaning and maintenance, so the manufacturer’s guidance should be checked.
Tile Format
KitKat tiles for kitchen walls can come as narrow pieces set on mesh sheets or as a preset design on a larger tile body, depending on the product. This format affects things like alignment, cutting, and how the design wraps around corners and wall edges. It's worth checking the individual product details before planning an offset, herringbone, or any other customised layout.
Maintenance
Kitchen walls near a stove or sink deal with grease and splashes regularly, so it helps to check how simple the tile is to wipe and clean day-to-day. Finish and shade can both play a role here, along with how the tile responds to regular cleaning products over time.
Making the KitKat Tile Choice That Suits Your Kitchen Walls
Finish, colour, layout, and pattern each play a part in how a KitKat tile ends up looking once it's on a kitchen wall. None of these decisions work in isolation; they tend to come together based on how the rest of the kitchen looks and how the space is used day-to-day. MyTyles offers KitKat tiles for kitchen walls in different shades, finishes, and designs. You can browse them either on the website or by visiting our experience centre in person.

What Are KitKat Tiles?

KitKat tiles are narrow rectangular tiles arranged in repeated rows, giving the wall a slim, linear appearance. Their shape resembles the individual fingers of a KitKat bar, which is why the name is commonly associated with this tile format. They are often used on kitchen backsplashes, dado walls, niches, and other feature sections.
Can KitKat Tiles Be Used On Kitchen Walls?
Yes, KitKat tiles for kitchen walls can be used on backsplashes, dado areas, and selected accent sections. Their narrow shape works well in smaller wall zones between counters and cabinets. Before installation, it is useful to check the tile’s recommended wall application, finish, grout requirements, and cleaning guidance, especially around the stove and sink.
How Do KitKat Tiles Change A Kitchen Backsplash Or Dado Wall?
KitKat tiles add detail through repeated narrow lines, which can make a backsplash or dado wall feel more structured. In a KitKat tile kitchen design, the effect can be subtle with matching grout or more defined with contrasting grout. Finish, colour, orientation, and cabinet style also influence how noticeable the wall becomes.
Which KitKat Tile Colours Work Well For Kitchen Backsplashes?
White, grey, green, black, beige, and muted earthy shades are commonly considered for KitKat tiles for kitchen backsplash areas. Lighter colours create a softer background, while green or black can act as accents. The right shade depends on the cabinet colour, countertop, lighting, grout, and how much contrast you want on the wall.
Should KitKat Tiles Be Installed Vertically Or Horizontally In A Kitchen?
Both layouts can work, but they create different visual directions. Vertical placement emphasises the height of the tiled section, while horizontal placement emphasises its width. The choice should also consider cabinet height, backsplash dimensions, socket placement, tile proportions, and how the grout lines will align across the surface.
Are Matt Or Glossy KitKat Tiles Better For Kitchen Walls?
Both can work depending on the look and function the space needs. Glossy KitKat tiles reflect more light and can make colours appear brighter, while matt KitKat tiles create a softer, less reflective surface. For kitchen use, it is also worth checking cleaning requirements, grout upkeep, and the manufacturer’s recommended application rather than choosing only by finish.
Are Mesh-Backed KitKat Tiles Suitable For Kitchen Backsplashes?
Mesh-backed KitKat tiles can be considered for kitchen backsplashes when the selected product is recommended for wall use. Several small tile pieces are fixed to a mesh sheet to form one unit for installation. The sheet dimensions, spacing, cuts, grout joints, adhesive, substrate preparation, and alignment should still be checked carefully before fixing.

ABOUT THE AUTHOR
Nandana Priya
I have a strong interest in design and creativity, and I enjoy translating the world of tiles and their trends into engaging reads. Focusing on creating well-researched content that feels meaningful to readers has always been my first priority. I bring a growing understanding of research, design, and digital marketing into my writing, with a focus on clarity, relevance, and thoughtful storytelling.
Latest Blogs By MyTyles